DIY Wooden Bead Chandelier
 Winter is well and truly on its way, so let's cosy up and talk ways to warm up your home with lighting, shall we? I've even gone one step further and created a DIY wooden bead chandelier for you to drool over with the help of the brilliant Out There Interiors. You are most welcome. You can completely make or break a room based on the kind of lighting you choose and understanding how it can work for your space is important. This is a pretty in-depth subject to go into in any detail, so in this instance, I'm focusing on accent lighting as a way to add a mood or atmosphere. It's also a great way to draw attention to a certain area in your room.If like me you hate to use your main lights in your living space and prefer a softer, more intimate light, then you might like to consider introducing festoon (or garland) lighting. Years ago, it was virtually impossible to find these at a reasonable price to buy (and I had to hire them for client events) with the only option otherwise available being fairy lights. All very well, but the quality of light they gave was limited and whilst they're great at Christmas using them for the rest of the year just didn't feel right after I was no longer a student. Know what I mean? Thankfully now, they're easy to come by and although I don't like to follow trends, they're a popular accessory that's showing no signs of dropping out just yet. I love them for their versatility-whether you swag them across your ceiling or wall or choose to gather them up and hang them down the side of the wall from a statement wall hook, they just work.Layer a set or two of these up with a combination of table lamps and candles and you're on your way to a well-lit, cosy night.
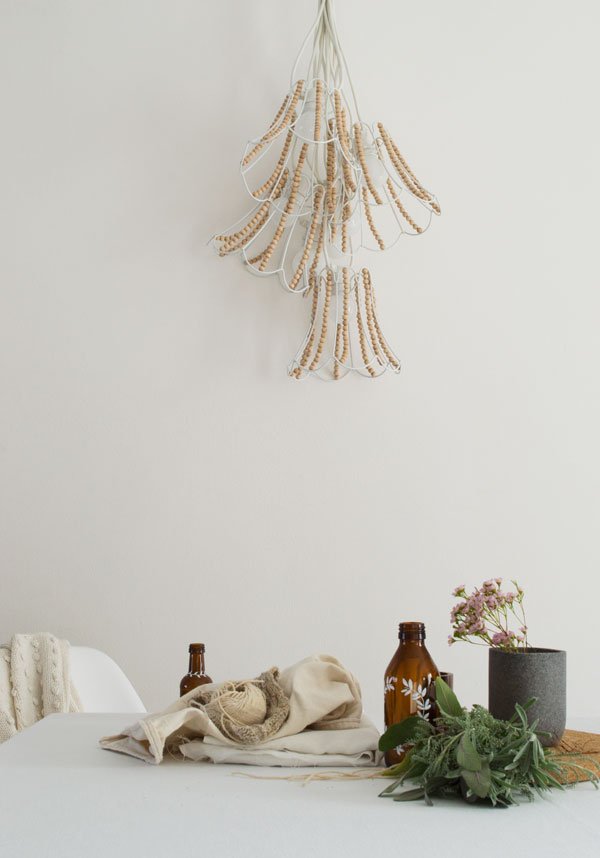
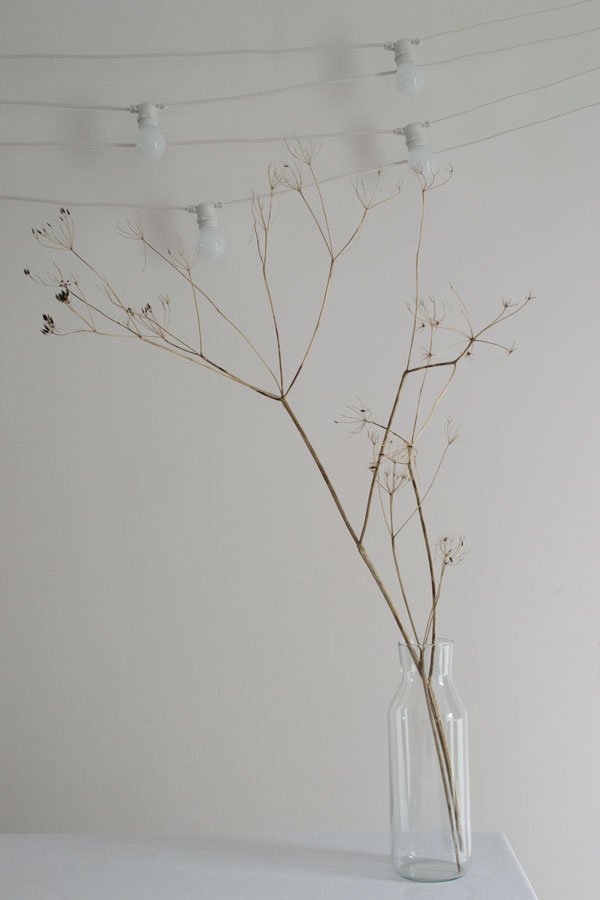
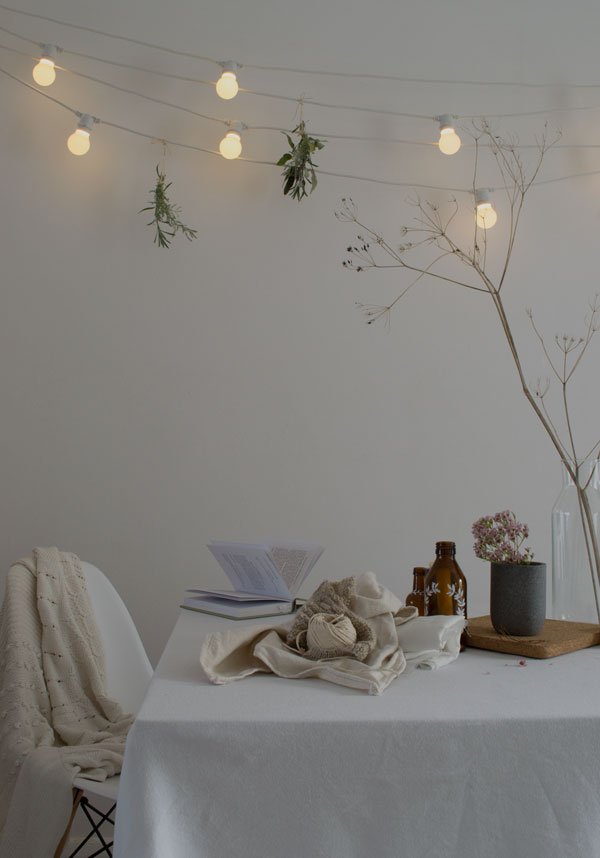
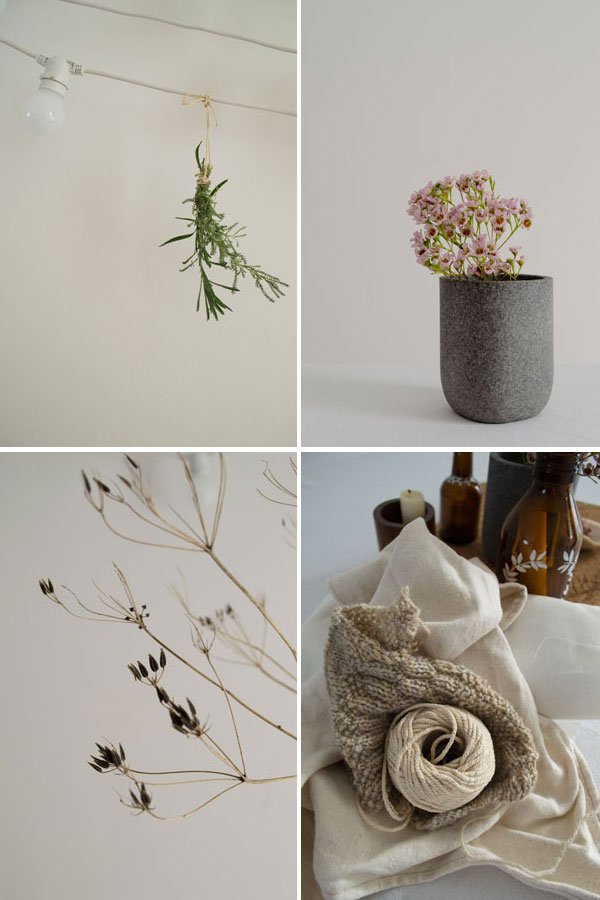 If you've seen and loved the luxe wooden bead chandeliers, then this DIY is a compromise. As you know, I believe simple is best, so I've not gone crazy, but when you see how many beads goes into making this grouping of five, you'll get the idea why! The wire shades are a great blank canvas for building on to if you wanted to give them something extra-I've seen them wrapped in scraps of fabric before which looked gorgeous. I've chosen pale, untreated beads here to connect with the neutral tones in the rest of our living space and have worked in natural textures and elements as part of the styling-dried seed heads foraged from the roadside, bunches of lavender leaves and sage for subtle scent, warm cork and brown glass bottles to hold my candles. Oh, and wax flower. Because at this time of year, if I see it, I buy it.
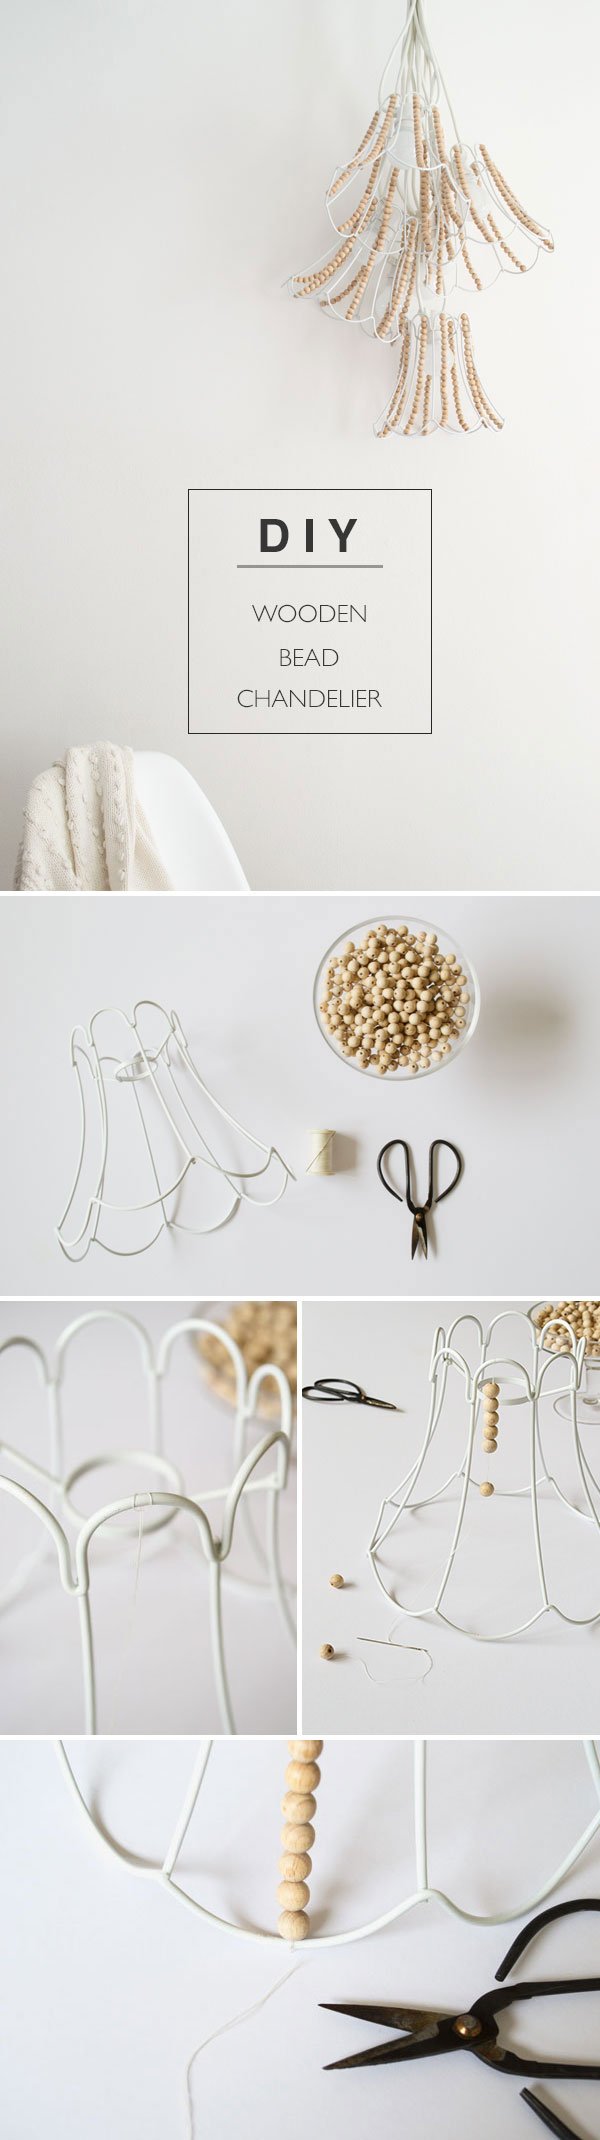 You Will Need:
- X5 Wire lampshades - I've used white tulip shaped Paralumi by Seletti
- 10mm pale wood beads - I used close to 1,000 with X20 in each section.
- White cotton thread.
- Needle.
- Scissors.
- Festoon/garland lights.
Step One: Cut a length of thread long enough so that when you double it over it will easily run the length from the top to bottom of your shade with excess for tying off. Thread your needle with the loose ends first.Step Two: Loop your thread over the top bar of your shade, pull the needle through and tighten. Thread your beads on until you fill up the space - this took x20 for each section.Step Three: Tie off and knot the thread thoroughly and trim the ends. Continue all the way around the shade until complete.Step Four: Repeat for remaining shades, attach to your string lights and group together in a cluster. Alternatively, hang them out straight across the ceiling.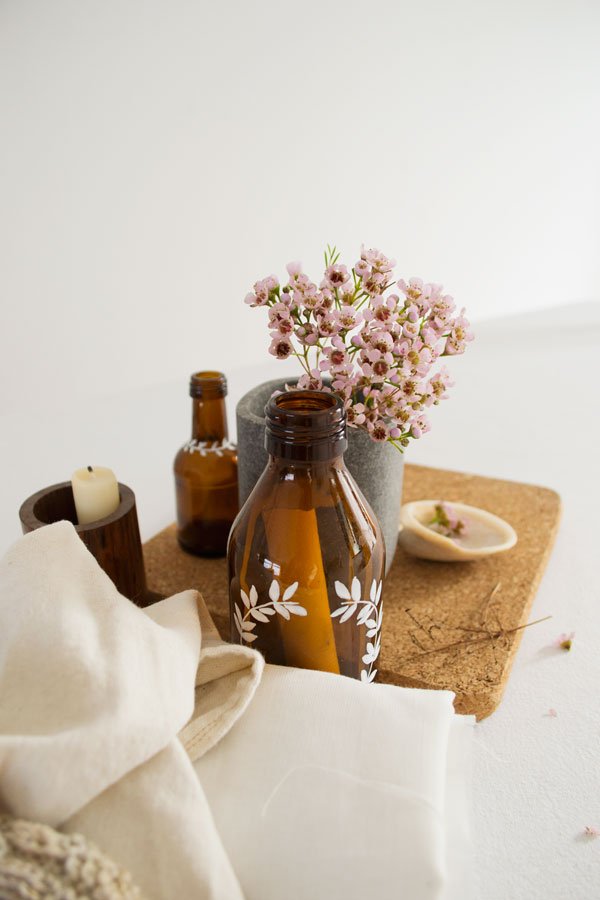
 How do you work lighting into your home over winter? Are you a fan of mood lighting, or prefer a brighter feel? Got any lighting related questions you'd like to ask, feel free and I'll do my best to answer them for you...Photography & Styling © Tiffany Grant-Riley*This post is in collaboration with Out There Interiors.