How To Whitewash Wooden Floors | A Guide
 [Sponsored content]. Over the winter months, we've been working hard on project 'strip the floors', most of which were given an orange pine varnish treatment many moons ago. Rob managed to sand his office (pictured) which was previously carpeted and the kitchen in three dusty, sweaty days. Despite the fact the floors are in great condition for their age, I really don't like having dark orange wood everywhere - it makes an already dark house feel darker. I did a fair amount of research into limewashing and whitewashing before jumping into this project, asking for recommendations from interior design friends who have done it before and they all came back with the same brand.So, on a mission to brighten up the house and lift the floors, I've put together a guide on how to whitewash wooden floors in partnership with OSMO, makers of wonderful oils and waxes, elixirs for all kinds of wood treatments. A look synonymous with Scandinavian style, whitewashing creates a contemporary feel, highlighting the natural beauty of the wood grain. The best thing about it is that unlike painting the floor which will show up wear and tear over time, whitewashing is far less high maintenance.Although traditionally done using lime or wood bleach which can be harsh (please don't do that!), tinted wood oils are now a far less complicated option, nourishing and protecting the wood simultaneously. All these oils and waxes are environmentally safe, meaning fewer harsher chemicals and the wood can still breathe underneath. For high traffic areas it stands up well to abuse, is water resistant and is easy to clean. It also works brilliantly on pine flooring and a little goes a very long way.
Spot Check!
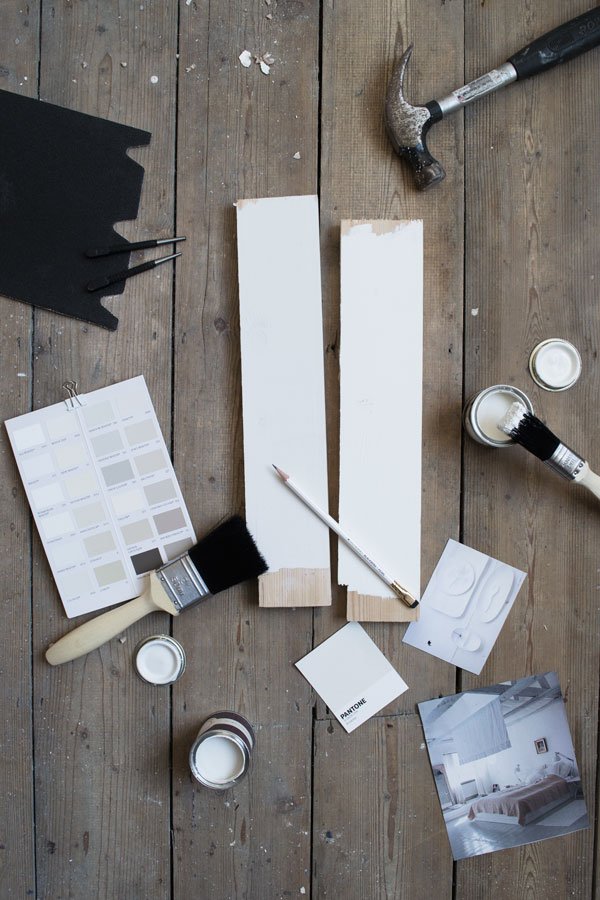
Before you get too excited and rush out for tools, please make sure you do a swatch test first. Check what kind of wood floor you have. Pine is generally an all-round winner for this effect with its naturally pale qualities, whereas darker woods will have a completely different result and are sometimes better left alone. If you're desperate to lighten dark wood, I've read about a method called pickling that's worth looking into.Find an inconspicuous corner that you can sand back if you don't like it, purchase a tester of the product and follow my prep and cleaning steps before applying. A small area won't take long. Follow the drying times and then see what you think - has it been well absorbed and have you achieved the desired effect? If so, read on...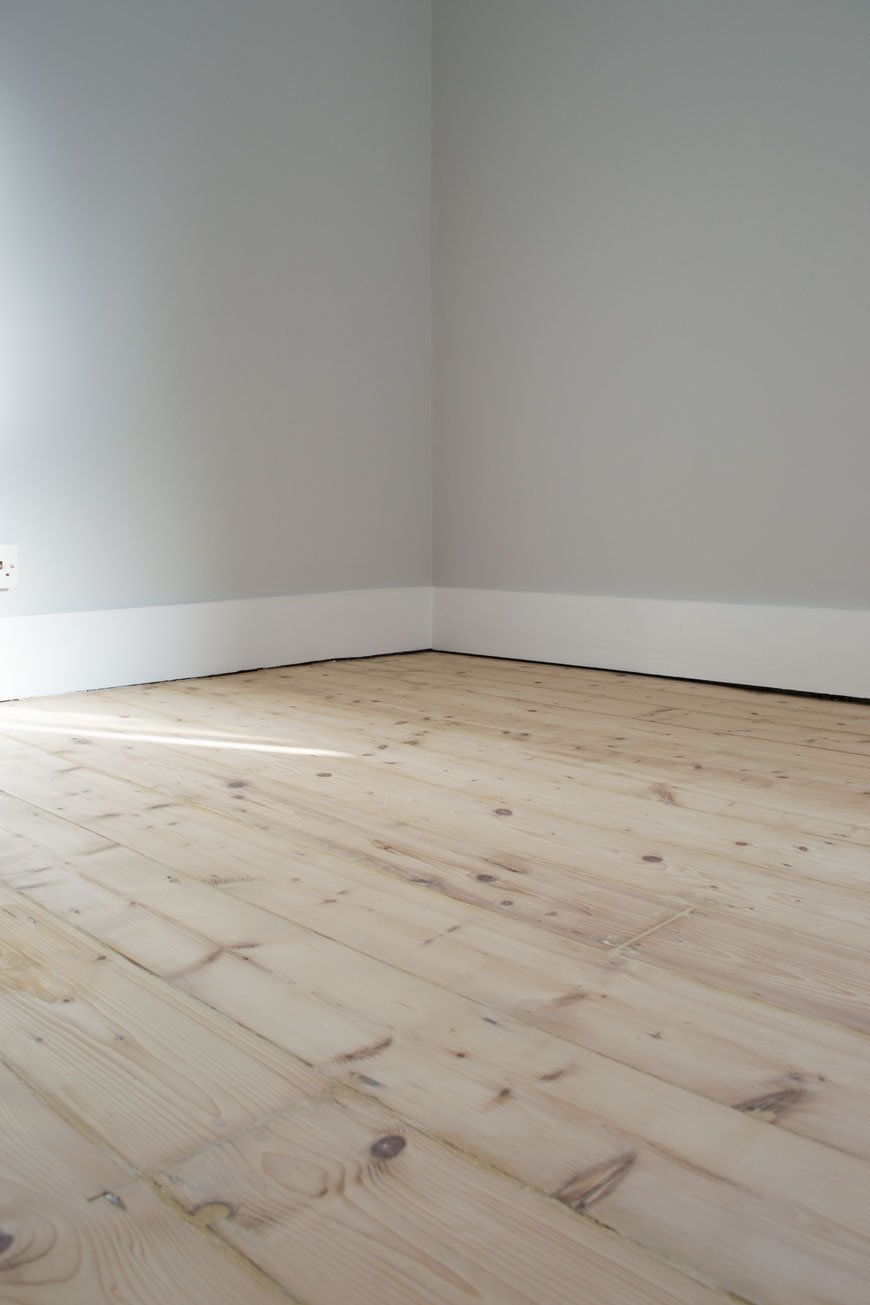 You Will Need:• Vaccum cleaner.• A good floor cleaner / stiff floor brush.• OSMO Wood Wax Finish** in white (code 3111). A 750ml tin will cover approx 20 sqm.• OSMO Polyx-Oil Tint** in white (code 3040).• Soft, lint-free cloths (you can only use these once per application) or a soft, wide paint brush (OSMO also have wide floor brushes).• Painter's pot or tub to pour out the floor oil into.• Gloves to keep your hands clean (it gets everywhere and it's hard to clean off your skin!).• OSMO cleaning solution.**find your nearest stockist here.
Before You Start - Prepare The Floor.
Make sure you've fully prepped the floor before you start staining it. This means removing any previous treatments with a heavy duty sander, repairing loose or broken boards and filling any gaps as Rob has done. You can find a step-by-step guide to sanding floors, including the prep from our previous project in the kids' room. Ignore the knotting step - you'll want to see all of the grain.Next to clean the floor. Vaccum up any dust and debris first - you won't want to be working this into the floor. Wash and dry the floor a couple of times until any marks and dust have lifted.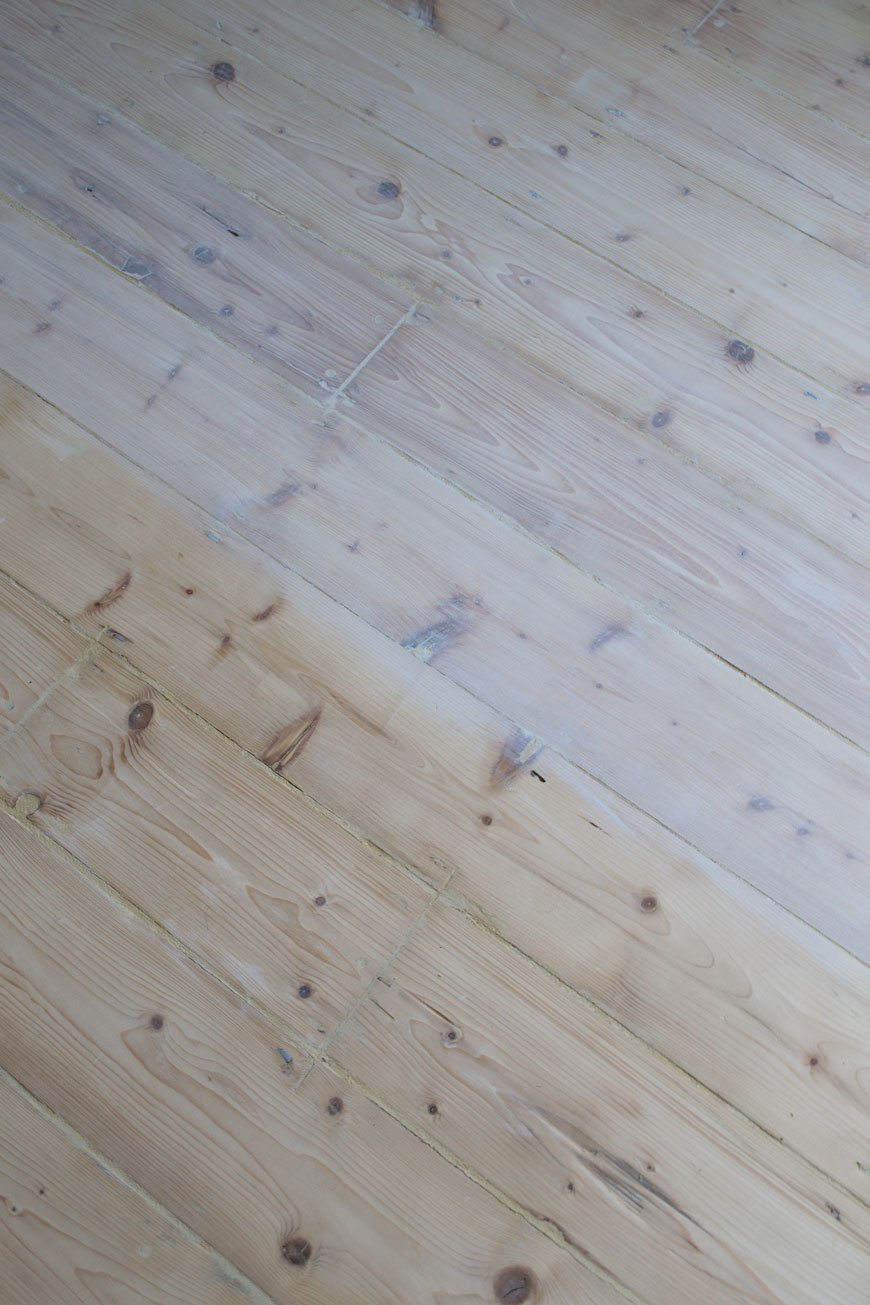
Step One - Applying The Wood Wax Finish
Stick on some protective gloves and decant a little of the Wood Wax Finish into a pot for easier access. Apply the wax oil in a thin coat along the grain with your brush or cloth, working it gently into any knots and cracks. Remember a little goes a long way. Allow twenty minutes soaking in time, then use a clean, lint-free cloth to gently rub away the excess wax oil until you're happy with the tone. You'll need to do the floor in sections so that you have a safe space to kneel while you do this part - otherwise you'll step on it while it's wet. This may mean leaving yourself a small path clear to the door whilst you wait for the rest of the floor to completely dry before you can finish the rest.TOP TIP: Because some floor oils turn yellow over time, OSMO has recommended applying a white oil tint as a top coat after the initial wax finish.
Step Two - Applying The Polyx Oil Tint Top Coat
Once the floor is completely dry, check that you're happy with the tone. If you feel it could be a little whiter, repeat step one. Next to apply the Polyx Oil Tint which will protect your base coat and prevent it from yellowing over time. Decant a little of the oil tint into a pot and do the same as in step one with either a soft brush or clean, lint-free cloth. At this point, you can either coat the entire floor, working your way back towards the door (don't maroon yourself!) and leave it to fully dry, or repeat in section and work off the excess. The Polyx-Oil Tint is a translucent white which will add ever so slightly to the finished colour with a subtle sheen. I didn't bother to remove any excess as I was happy with the finish so I left it to dry after applying a thin coat.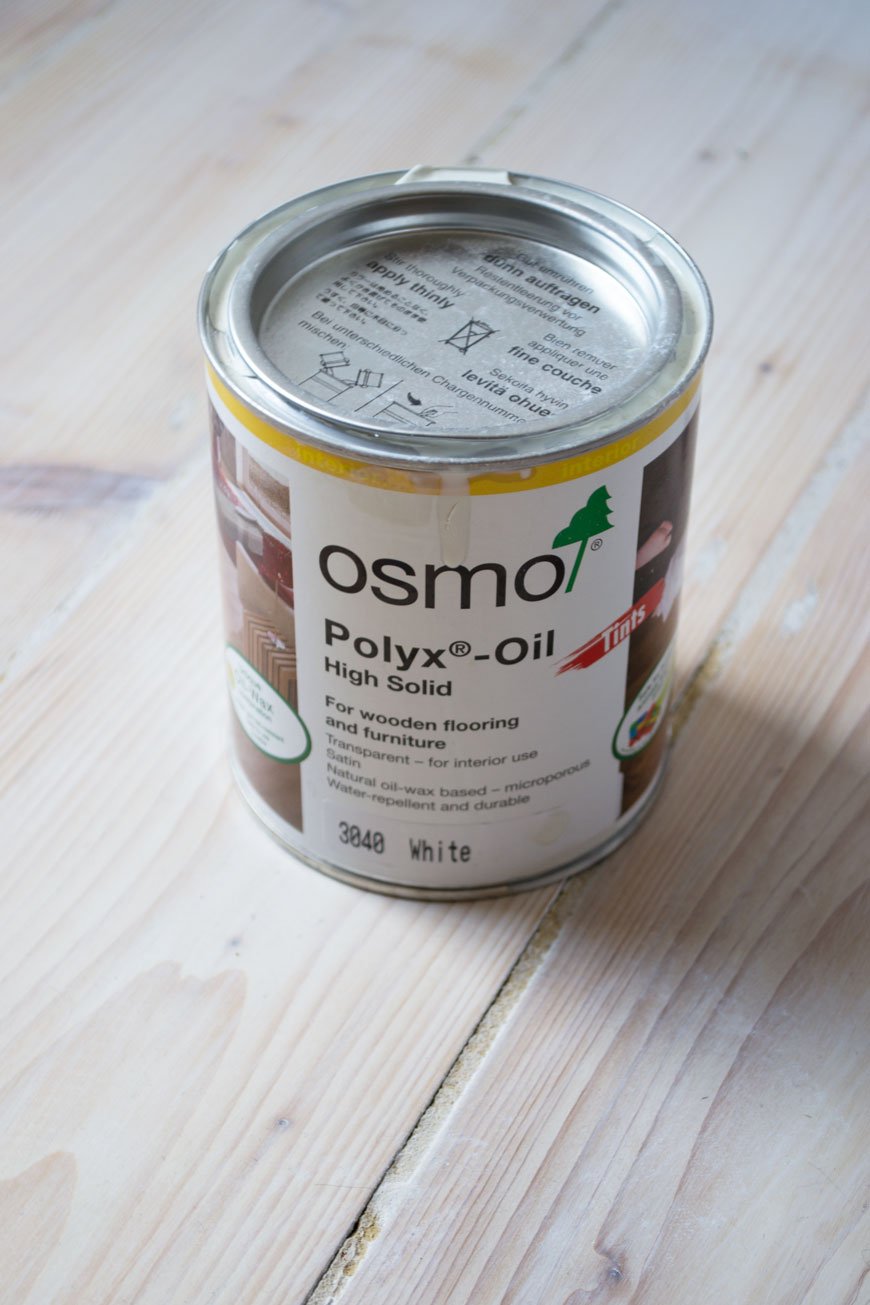 And that's it! Yes, it's pretty hard work - you're going to have to get sweaty for this job, but the finished result is well worth the effort...
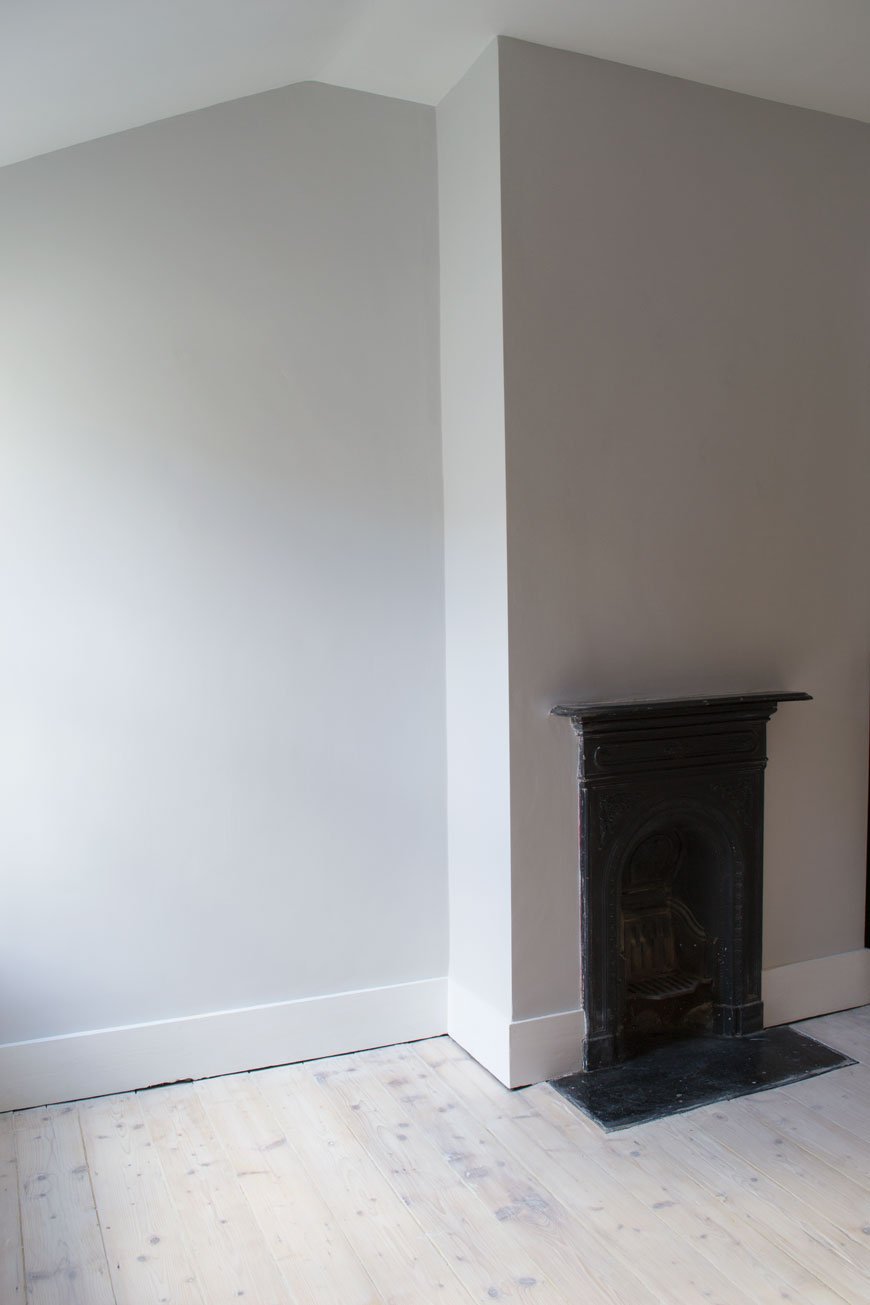 What do you think? Got any questions about whitewashing? Leave a comment below and I'll do my best to help.Can't wait to show you how our kitchen floor turned out and the difference the whitewashing has made to the feel of the room!Written in collaboration with OSMO who have kindly supplied product in exchange for this post.
Photography © Tiffany Grant-Riley
How To Paint Wooden Floors | A DIY Guide
 In the weeks before we finally moved in we'd been working on our new home and I thought now would be the perfect time for an update on progress in the kids room with a guide to help you paint wooden floors.Having stripped away the thick layers of painted wallpaper (see how it looked in the before tour) and discovered the good and the not-so-perfect crumbling walls beneath, we called in an excellent plasterer who got the job done in a couple of hours. The blue carpet came up without a fight (or any underlay!) to reveal the floor which aside from a small amount of carpet glue and a few layers of dirt on top, were in great condition. As it's a really bright room, we wanted to go with a white floor, picking out a couple of shades from Farrow & Ball and settling on Wimborne White which has warm tone to it.They say the best way to learn is on the job...we began the process virtually clueless but now with experience under our belts I think we have a definitive guide here. Let's get to it...
 FOR SANDING AND PREPARATION• Commercial floor sander-we hired ours for around £70 a week from a local company.• A mix of grade sanding belts for the sander ranging from 40 to 120 grit - you can purchase these when you hire the sander.• Palm sander for the edges of the room. The Bosch PSM 200 AES has two different configurations for sanding at angles with a built in dust box.• A punch tool (these allow you to drive the floor nails in without damaging the wood).• Drill - the Stanley Fatmax cordless is pretty nifty with two batteries.• White spirit.Before you go anywhere near a sander, check that all nails and screws are well secured into the floor, otherwise you'll go through all your sanding belts in no time when they tear them. If your floor has the original nails, use a punch tool and hammer them in to just below the surface of the wood, otherwise you can secure any wobbly boards with screws.On an older floor you'll find that boards have often been cut and removed at some point to make way for electrical and plumbing work. These will need to be secured. Lift the loose boards first to make 100% sure of what's underneath before you start drilling or screwing - you don't want to hit a pipe or wire.Drill pilot holes and use a countersink bit (fairly generously) before screwing to ensure screws sit below the surface of the floor. Then you can simply fill over the top and you'll never see them. Obviously leave exposed any that you may need to unscrew again in the near future - these can always be filled and touched up at a later date.Vacuum any loose dirt from the surface and grooves between and scrape the join between the skirting and floor if you have one to avoid painting in bits of dirt. Give the floor a wash to remove any more surface dirt before you sand.TIP: Is there any carpet glue left? You can use white spirit and a scraper to remove the worst of the residue, then the rest should come off with the sander.You can now begin the fun part-the sanding!
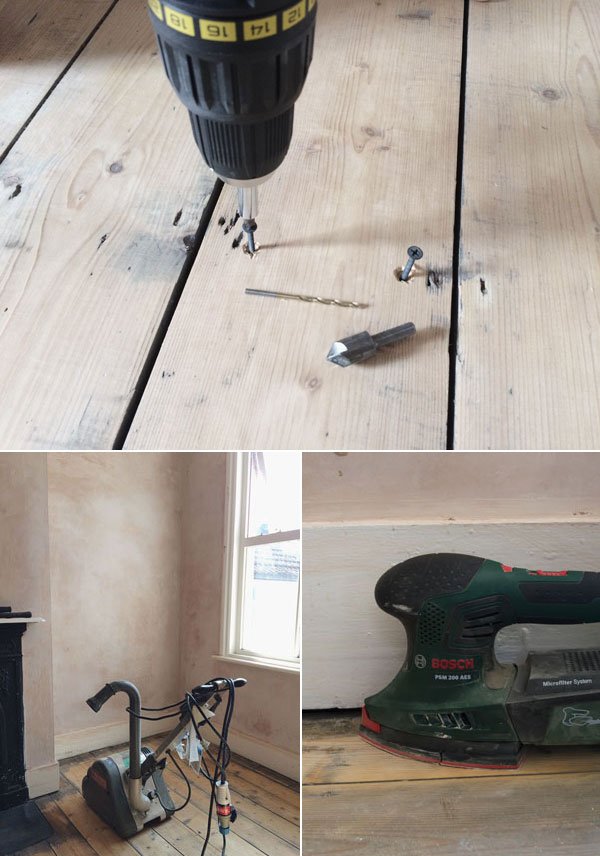 It doesn't matter which way round you approach it - we did the main part of the floor first and the edges last, but you need to make sure you remove the layers until the wood is looking brighter. Start with a heaver grade such as a 40 grit first to remove the ground in dirt, then finish with a finer grade for a smooth finish. Make sure you're happy with the feel of it under foot as once you've painted there's no going back.
TO PREP FOR PAINTING
• Wood knotting solution.• Wood filler. You can make your own from the sawdust mixed with Bona Mix & Fill or use an all purpose filler.Vacuum and wash the floor again to remove any residual dust and dirt and leave it to completely dry. You might need to repeat this stage a couple of times so as not to paint the dust into the floor. Not nice. It's always advised when painting any wood to ensure that you treat all the knots with a coat of knotting solution to stop them showing through the paint afterwards. In some cases, the knots might be sappy and I'm told that if you treat them with a heat gun you can draw the sap out and scrape it off before you knot them. Just be really careful.Fill any large gaps in the boards with the filler, allow to fully dry and then sand smooth by hand.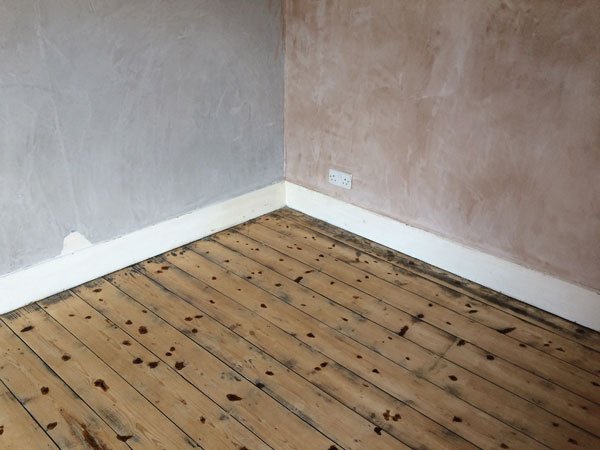 READY TO PAINT• Undercoat and primer - try Farrow & Ball's light and pale undertones for white floors.• Good quality floor paint - we used Wimborne White by Farrow & Ball.• Good quality paint brushes. Trust me, you don't want to be picking loose hairs out of the paint.
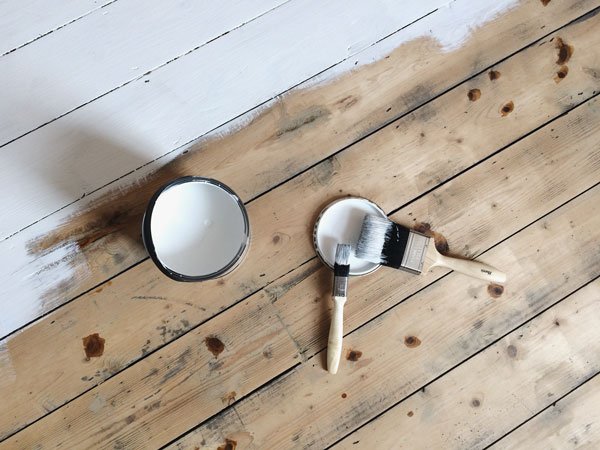 Now you can get on with the painting. Give the floor another vacuum to remove any last bits of dust including underneath the skirting boards then apply a layer of undercoat and primer. Go around the edges of the room first with a small brush, then fill in with a larger one, making sure to paint yourself out of the room. Don't maroon yourself! Once the undercoat is dry, follow the instructions of your paint of choice for the topcoat. This floor required two coats of the top coat and it has a slight satin finish for heavy duty wear.TIP: You might not like the look of the wood showing between each board - I didn't, so I was quite liberal in working the paint in between the joins.If you've time to, leave the floor to cure for a few days. We left ours for approx. 10 before putting any furniture onto it and I think it made a difference to the finish.
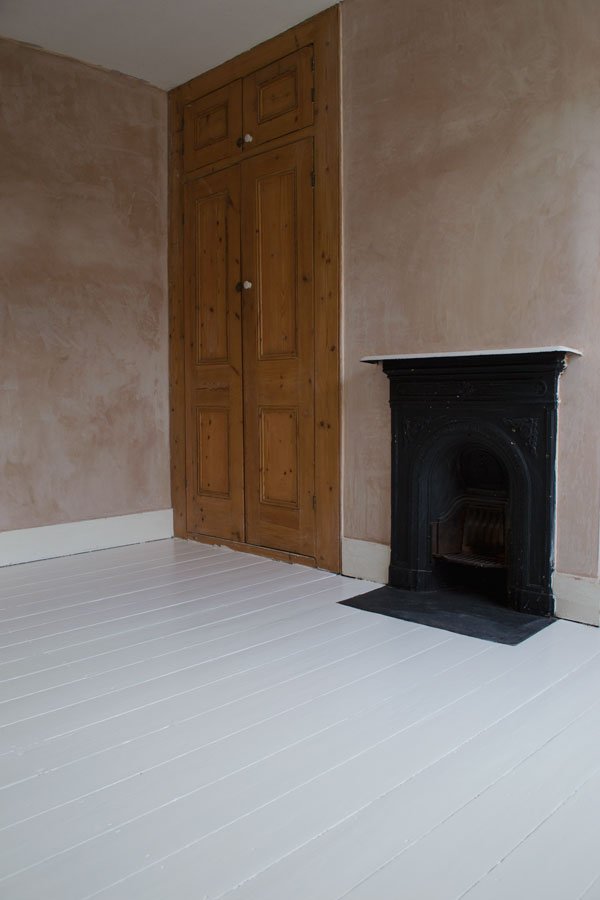 And here's the finished floor. Pretty sweet, right? It's worth remembering that painted floors will always chip eventually, and that's part of the charm, but for now, the kids are enjoying playing on it!Next step? Prepping the ceiling, walls and woodwork. More on that and the colour we've chosen soon...Got plans to paint your floors? Has this been useful? You can follow our journey with #TheChathamHouse on Instagram and join the conversation.Photography © Tiffany Grant-Riley